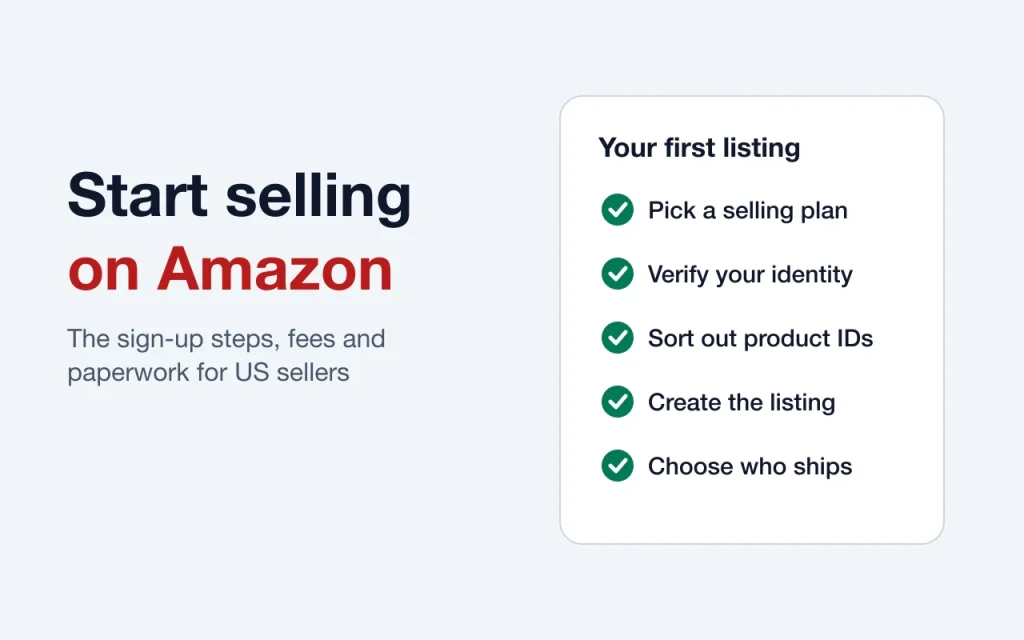
To start selling on Amazon in the US, you register a seller account, choose a selling plan, pass identity verification and create your first listing. Amazon says verification usually takes three business days or less. The steps below follow Amazon’s own sign-up process, with the fees and paperwork you should have ready before you begin.
Plan on the account itself being the easy part. Most new sellers get held up by missing documents or by product IDs, so we’ll spend extra time on those.
Before you register: what you need
Amazon’s registration page lists these items for US sellers:
- Government-issued ID
- Email address
- Internationally chargeable credit card
- Bank account and routing number
- Business license or registration
- Proof of residential address from the last 180 days, such as a bank or credit card statement
- Tax information
Have these on your desk before you start. The name on your documents should match the name you type into the form, because a mismatch is an easy way to slow down verification.
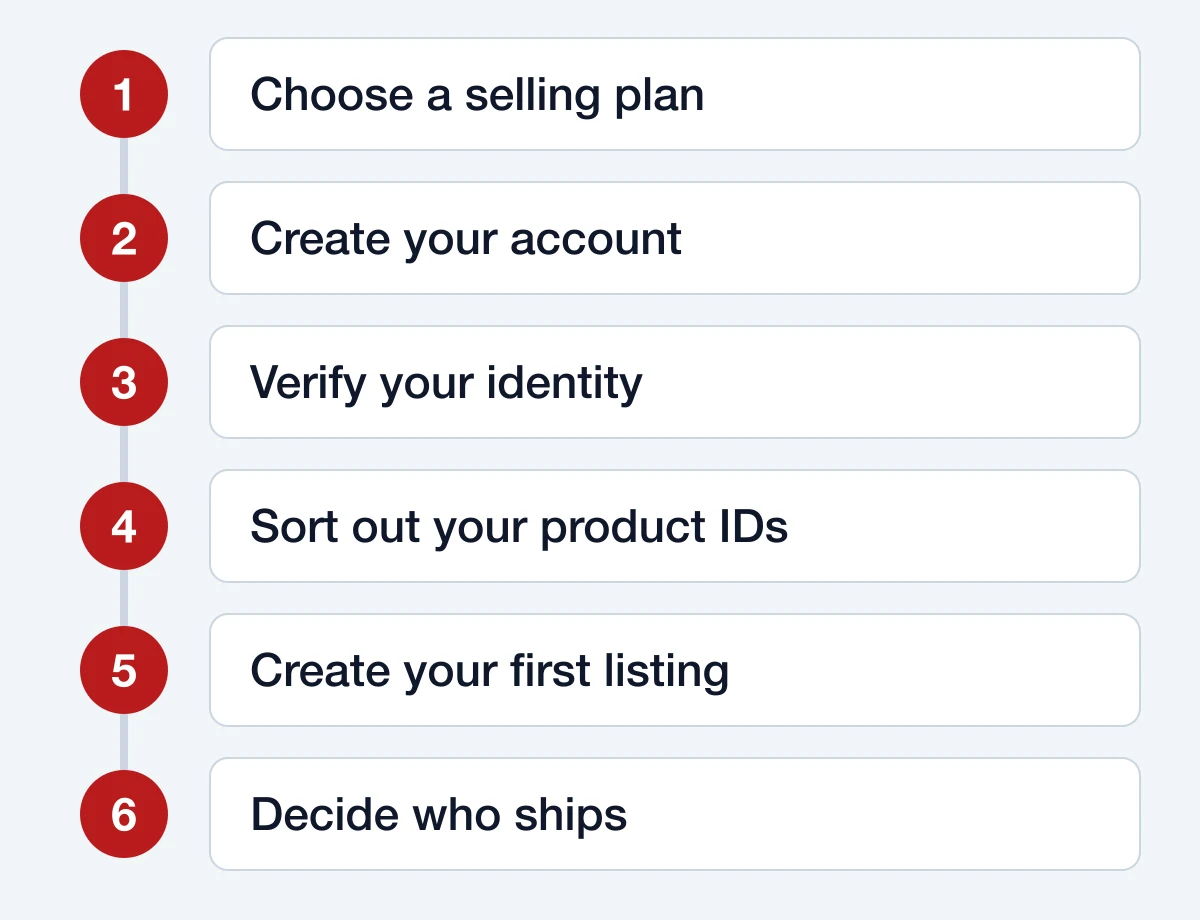
Step 1: Choose a selling plan
You pick a plan during registration and can change it later. Here’s how the two compare, from Amazon’s pricing page:
| Plan | Cost | Best for |
|---|---|---|
| Individual | $0.99 per item sold | Testing the waters with a few sales |
| Professional | $39.99 a month | Selling regularly |
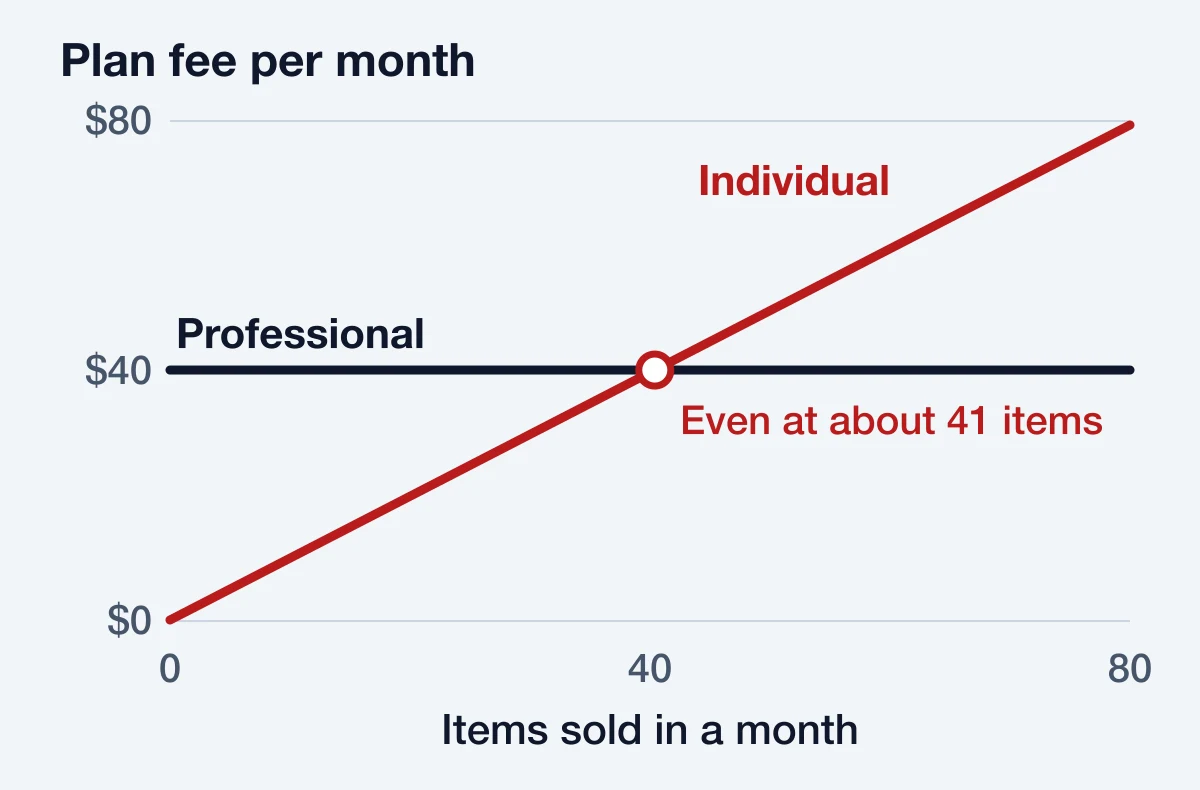
The math is simple. At $0.99 an item, the Individual plan costs more than Professional once you sell about 41 items a month. If you expect to pass that number, start on Professional. It’s also the plan to pick if you want Amazon’s bulk listing tools, or to enroll a brand for extras like A+ Content.
Step 2: Create your account and enter your details
Amazon walks you through this in order. You choose an email and password, then give your business location, type and name. Next come your details as the primary contact, your banking and card information, and your store name, which is how your business appears on Amazon.com.
Choose the store name with care. Buyers will see it, so pick something that fits your brand rather than something temporary.
Step 3: Verify your identity
This is the last step of registration. Amazon says verification “usually takes three business days or less,” and that it can often be finished in a few hours. Don’t order stock or book a launch date around a fixed sign-up day. Leave yourself a week of slack in case Amazon asks for another document.
Step 4: Sort out your product IDs
Every new product in Amazon’s catalog needs a product ID, and this is the step that stops the most new sellers. What you need depends on what you’re selling:
- Reselling another brand’s product: use the barcode already on the package. You don’t buy anything. You add your offer to the existing listing.
- Selling your own brand with GS1 codes: this is the route Amazon handles most reliably, because it checks product IDs against GS1 data.
- Selling your own product with no barcode: you may be able to apply for a GTIN exemption.
- Buying reseller codes: these cost less but can be blocked, because the GS1 record doesn’t show your brand.
We sell reseller codes, and we still tell Amazon-first brands to start with GS1 US. A $30 GS1 code that works beats a cheap code you have to replace after a rejected listing. Our UPC codes for Amazon guide goes through every case, and it covers Brand Registry and FNSKU labels too.
Step 5: Create your first listing
In Seller Central, go to Catalog and then Add Products. Search for your product first, so you don’t create a duplicate of something already in the catalog. If it’s new, create a listing and enter the product ID, title, bullet points, description, images, price and quantity.
Take your time on the title and images, since they do most of the work when a shopper decides whether to click. We’ve covered the details in our guide to Amazon listing content, and how to list products on Amazon walks through the form field by field.
Step 6: Decide who ships your orders
You have two main choices:
- Ship orders yourself. You store the stock, pack each order and pay your own carrier. You set your shipping rates, or use Amazon’s rates in some categories.
- Fulfillment by Amazon (FBA). You send stock to Amazon, which stores it, packs and ships each order, and handles customer service and returns.
FBA’s costs come in two main parts. Fulfillment fees are based on each product’s price, weight and dimensions. Storage fees are charged monthly on the space your stock takes up. Other costs can apply, including an extra charge on inventory stored for more than 181 days, so don’t send more stock than you expect to sell.
What selling on Amazon costs
Your plan fee isn’t the whole bill. On each sale you’ll also pay:
- A referral fee. This is a percentage of the total price, or a minimum amount, whichever is greater. Rates vary by category from 8% to 45%, and most categories are 15% with a $0.30 minimum.
- A closing fee on media. Books, DVDs, music, software and video carry an extra $1.80 per item.
- Fulfillment costs. These are FBA fees, or your own shipping.
Here’s a rough example. Say you sell a $20 item on the Professional plan in a 15% category and ship it yourself. Amazon keeps $3.00 of each sale. Then you subtract your product cost, packaging and postage to see your real margin. At 100 sales a month, your $39.99 plan fee adds about $0.40 per item.
Amazon also advertises incentives for new sellers on its pricing page, including credits and referral-fee waivers for new brands. Read the current terms there, because they change.
Mistakes that slow new sellers down
- Buying stock before checking the category. Some brands and categories need Amazon’s approval before you can sell them.
- Using a code you can’t trust. A number from an unknown seller or a free generator can get a listing blocked. Keep a record of which code went on which product.
- Skipping the numbers. Work out fees, shipping and returns before you order. Thin margins get thinner with ad costs.
- Rushing your first listing. It’s far easier to launch with good images and an accurate title than to fix a slow start later.
Frequently asked questions
Can I sell on Amazon without a business license?
Amazon’s list for US sellers includes a business license or registration, so check what the form asks for based on your business type. Rules on licenses also vary by state and city.
How long does it take to start selling on Amazon?
Allow about a week. The forms go quickly if your documents are ready, and verification usually takes three business days or less. Your listing work comes on top of that.
Do I need a UPC to sell on Amazon?
Usually, yes, unless you’re adding your offer to an existing product or you have a GTIN exemption. Read our Amazon UPC guide before buying anything.
Should I start with the Individual or Professional plan?
Start with Individual if you only want to test a few sales. Choose Professional if you expect to sell more than about 40 items a month, or you want the bulk tools.